Bulk Product Classification
This process explains how to classify a batch of poducts in a single batch upload.
Restrictions
- You must use CSV or the WooCommerce format.
- The header row must contain 2 headers:
descriptionandhscode. - You can specify values for either header.
- Values must be at least 2 characters long.
Steps
To classify a batch of products using a CSV file, complete the following steps:
- Open the ePAL portal at ePAL Portal.
- To open the Product Classification UI, click Product
Classification in the side panel. The following UI is displayed:
Figure 1. Product Classification UI 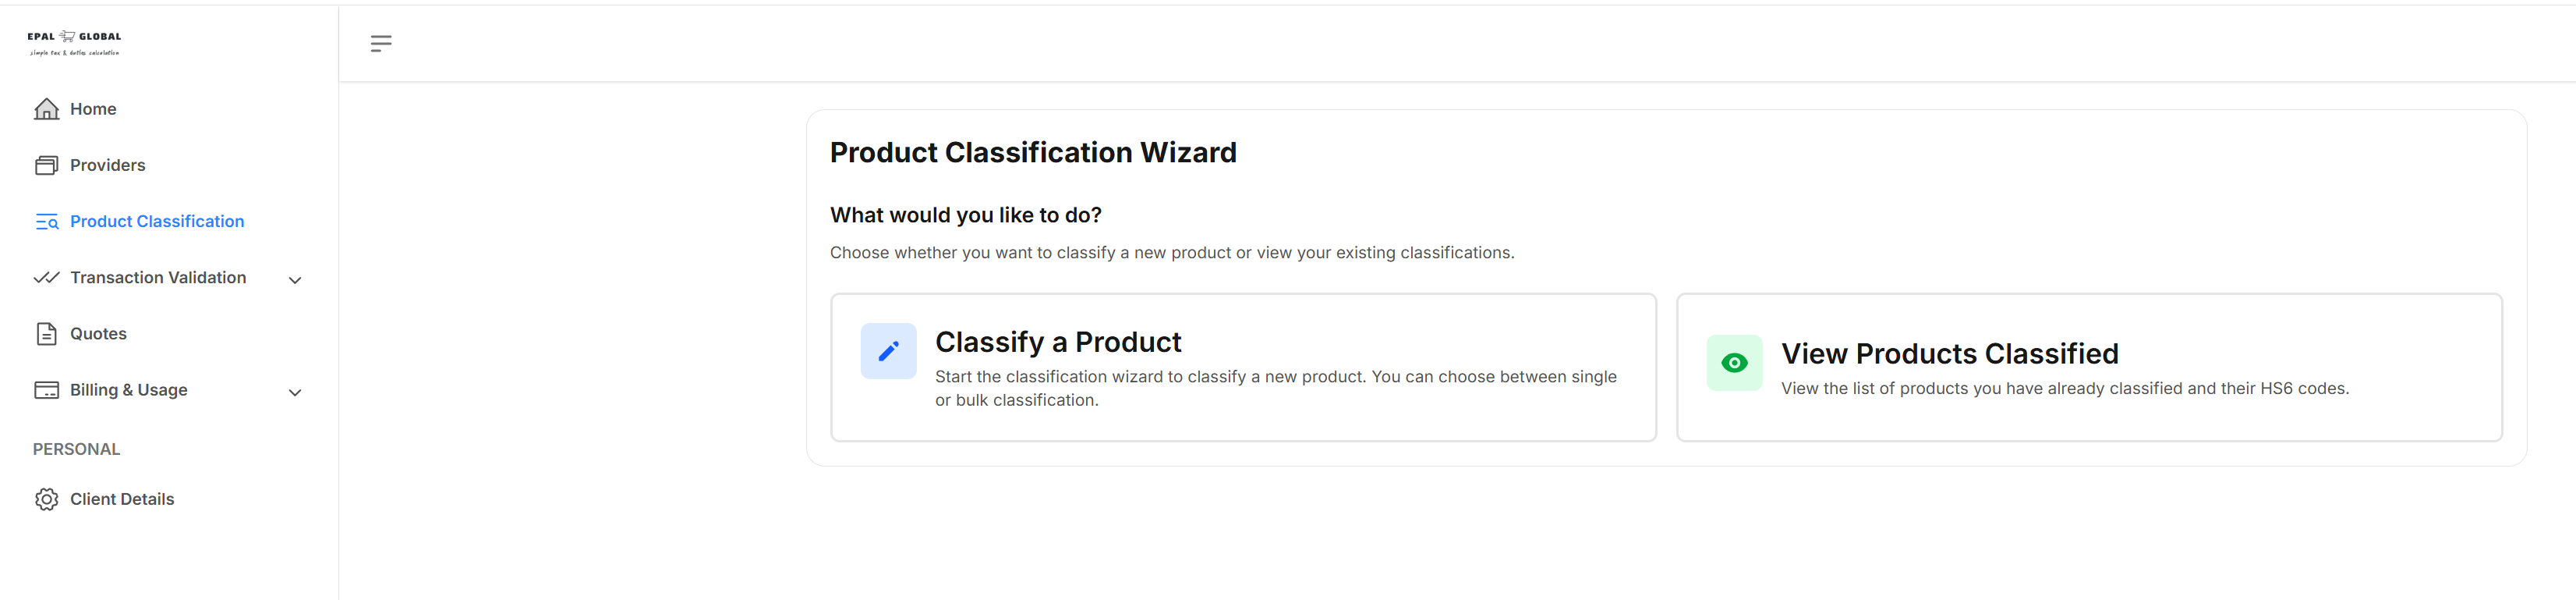
- Click Classify a Product. The following UI is displayed:
Figure 2. Product Classification Wizard Step 2 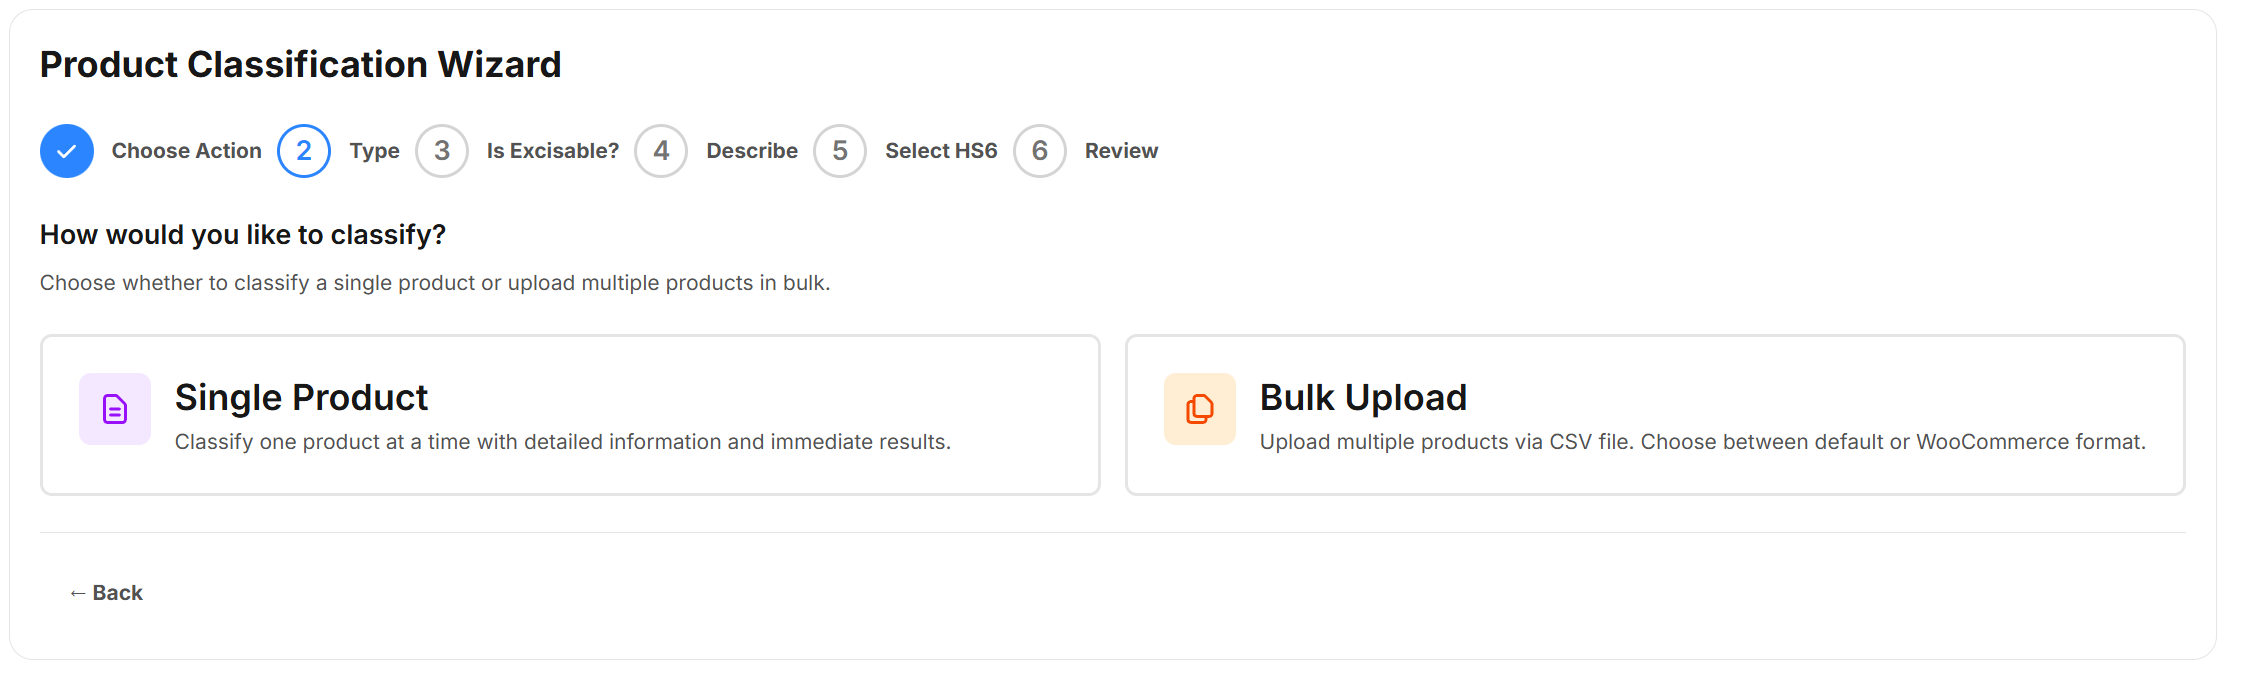
- Click Bulk Upload. The following UI is displayed:
Figure 3. Bulk Upload Type UI 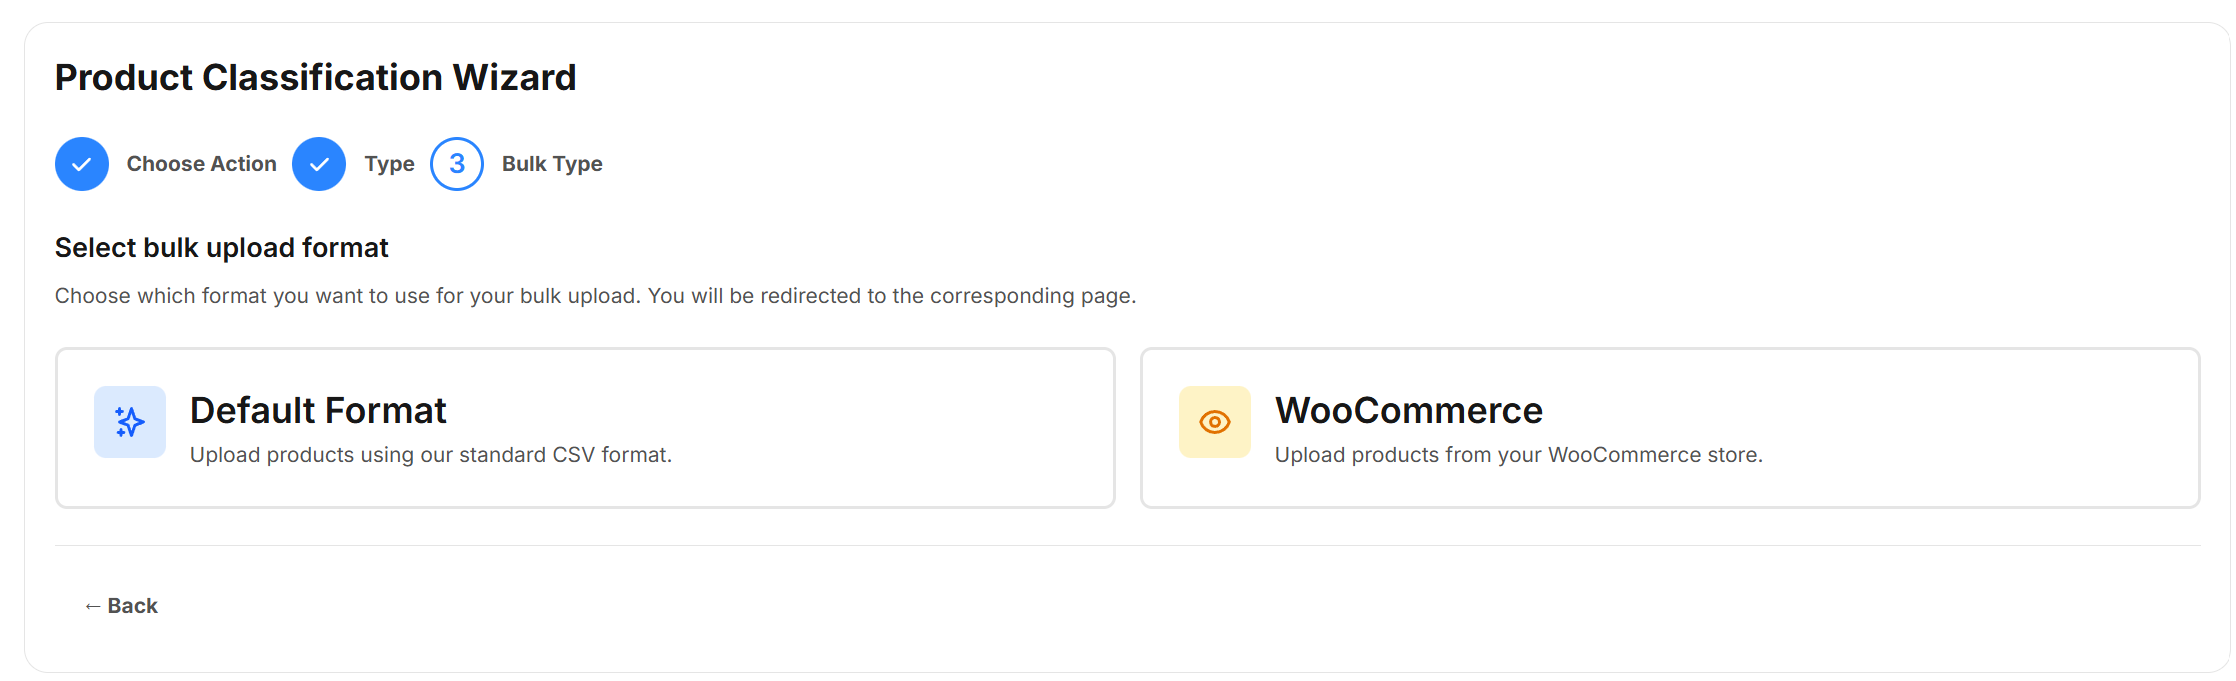
- Choose Default Format to use CSV.
In this example, we will upload the following CSV file:
Figure 4. CSV Upload Example 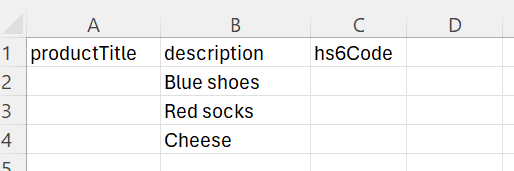
- After you upload the file, the following UI is displayed:
Figure 5. Bulk Upload In Progress UI 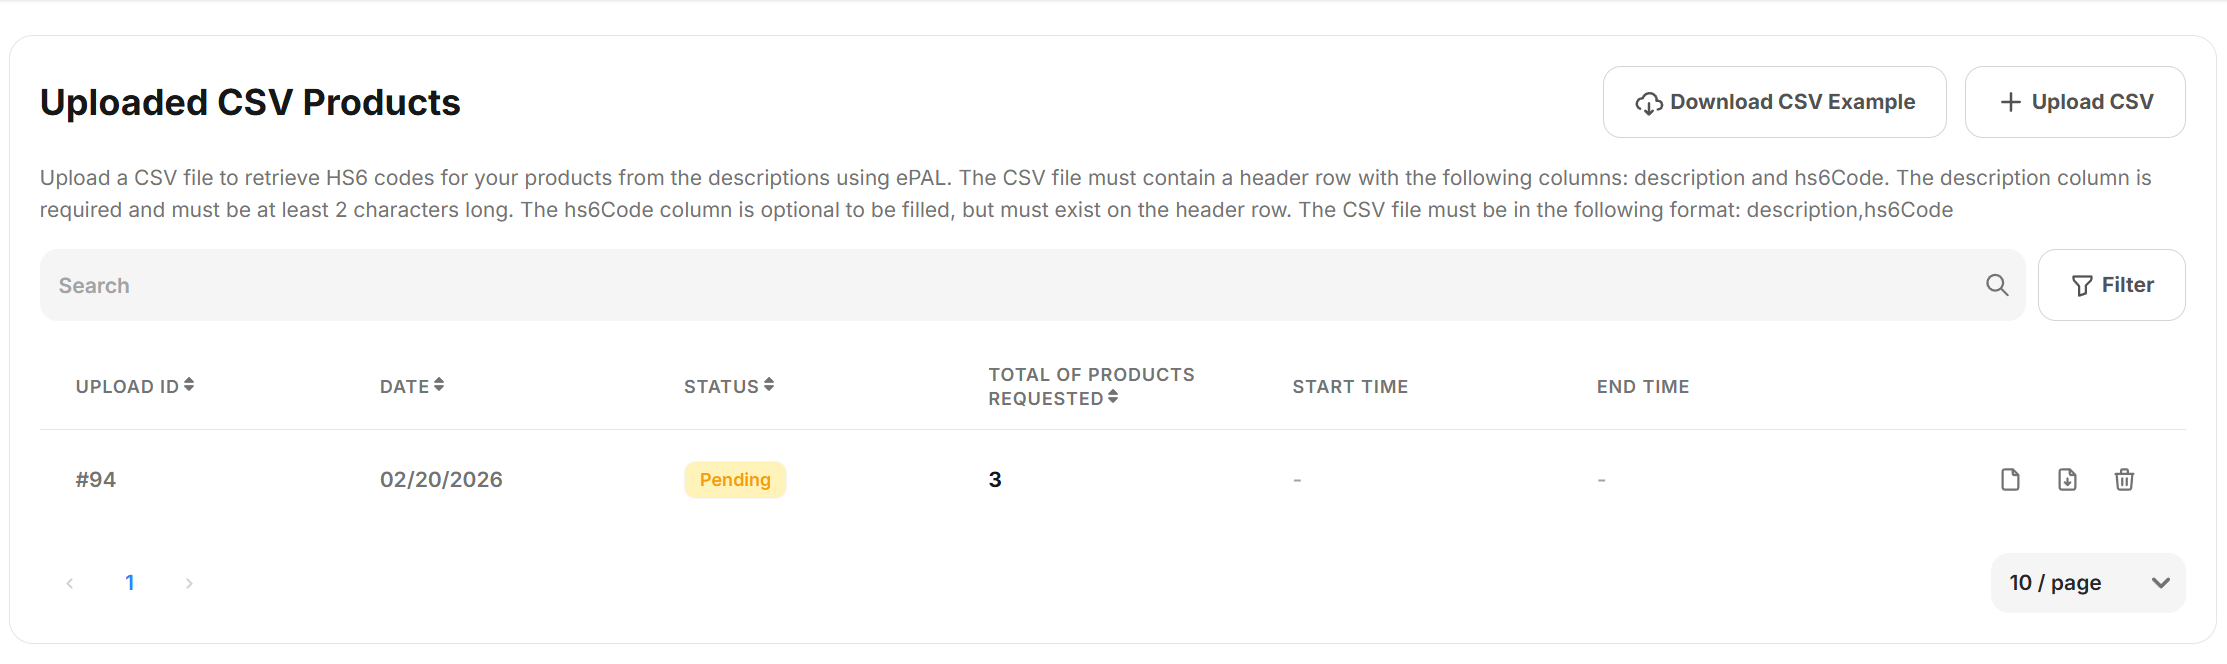
The status is shown as Pending until it completes.
Note:This make take some time. - When completed successfully, the following UI is displayed:
Figure 6. Upload Complete 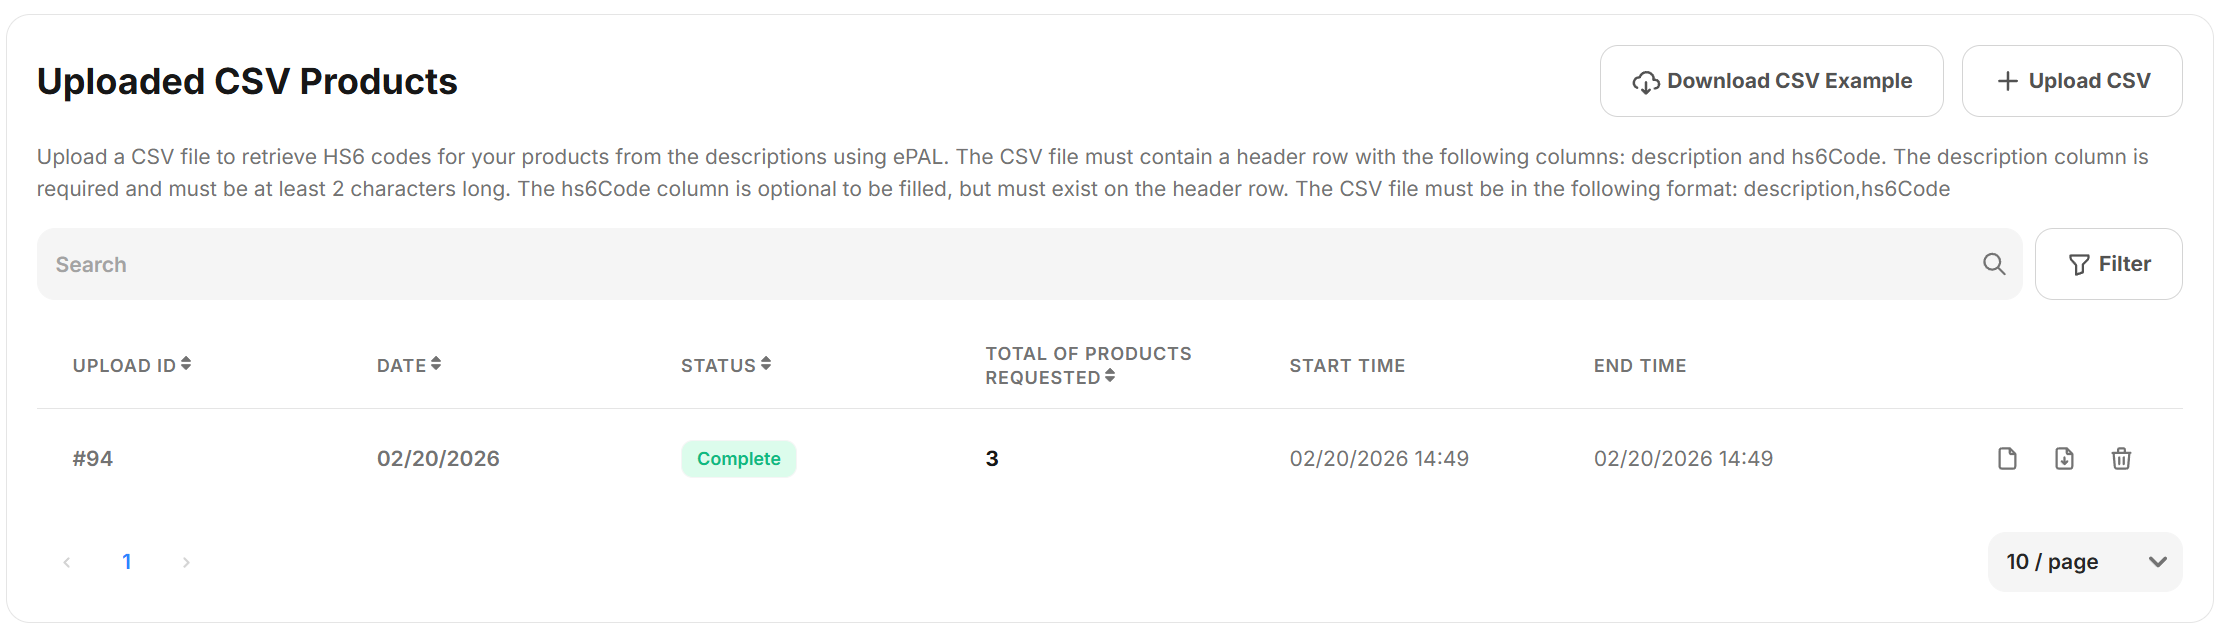
- To view the results, click the View icon. The following
UI is displayed:
Figure 7. Results UI 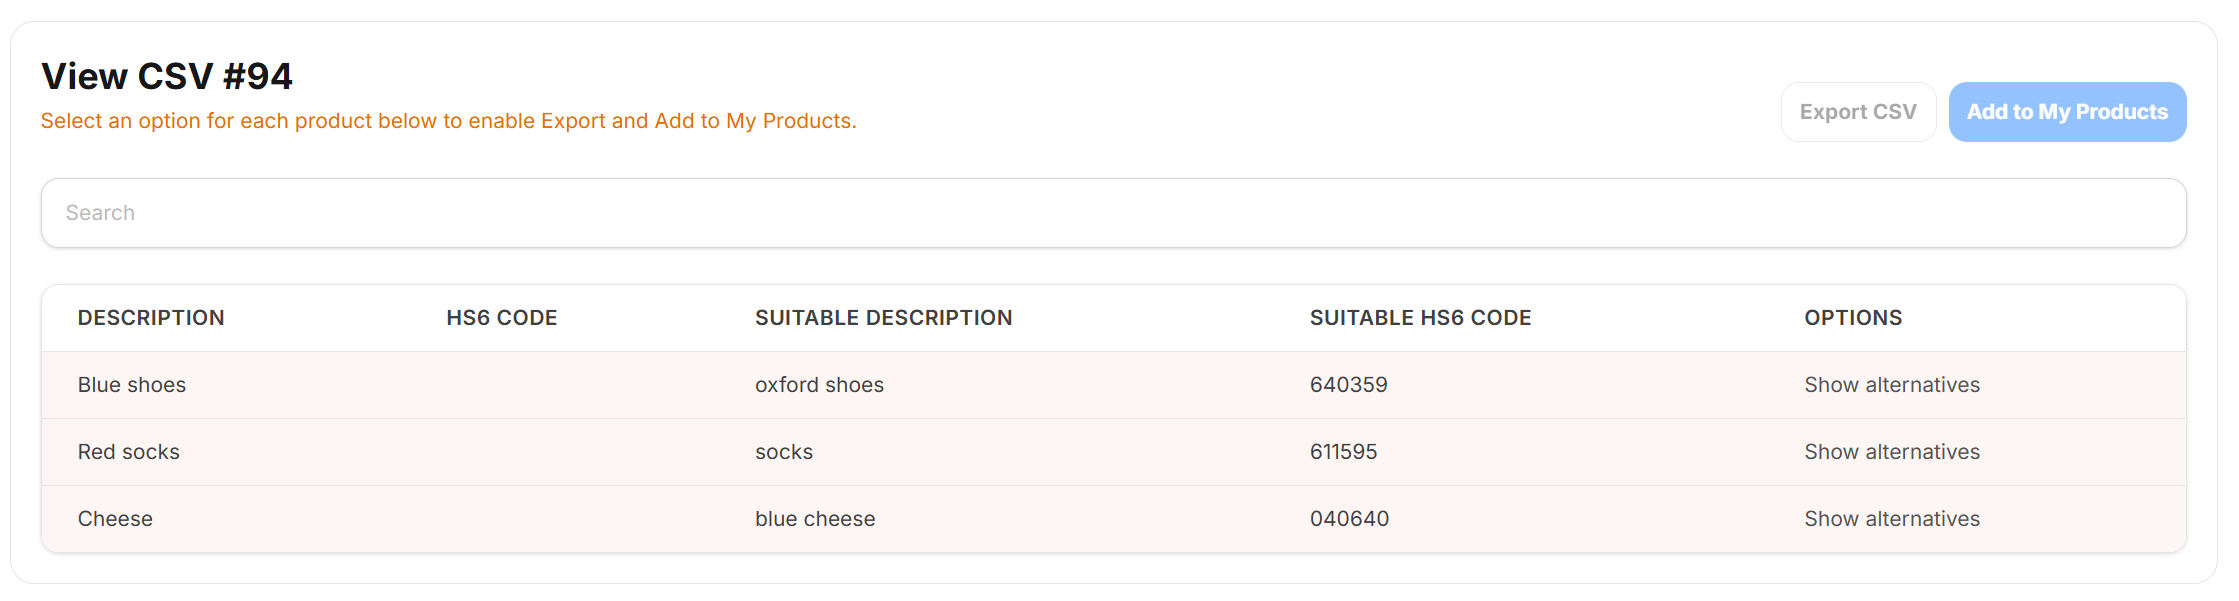 This UI contains the following fields:
Table 1. View CSV Fields Field Description DESCRIPTION A description of the classification that was specified in the input file. HS6 CODE The HS6 code, if any, that was specified in the input file. SUITABLE DESCRIPTION The description returned by the system. SUITABLE HS6 CODE The suggested HS6 code returned by the system. OPTIONS Optional actions such as viewing alternative suggestions. You can also delete the result or download it using the other icons.
- You can now decide whether to accept these results or choose another
classification. To view the selected classification,. click Show
alternatives under the OPTIONS column.
The following UI is displayed:
Figure 8. Show Alternatives UI 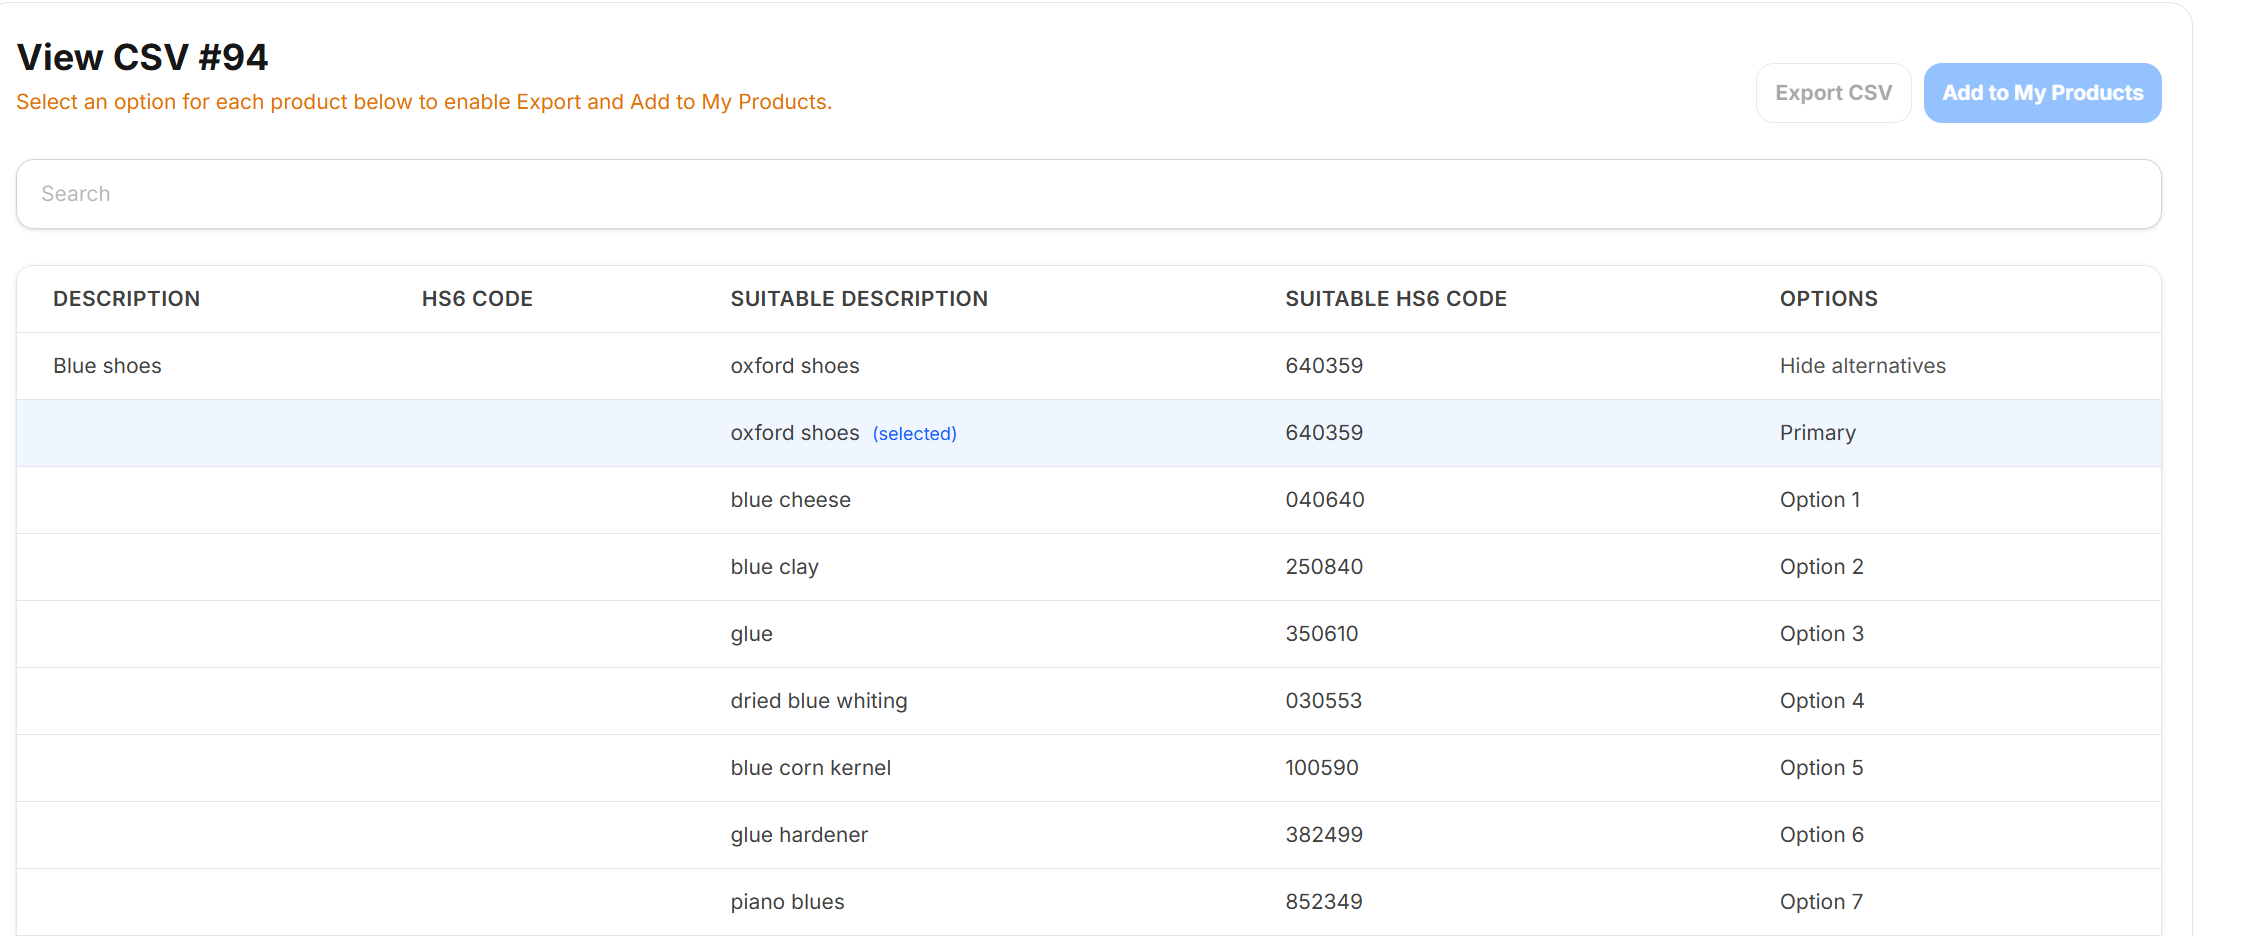
The selected classification is indicated by the (presence) amendment in the SUITABLE DESCRIPTION column.
Click on the row you want to use.
Repeat this for each classification.
- When complete, the Export CSV and Add to My
Products buttons are no longer inactive and greyed out.
When you export the results, a CSV file will download. For example:
Figure 9. CSV Export Example 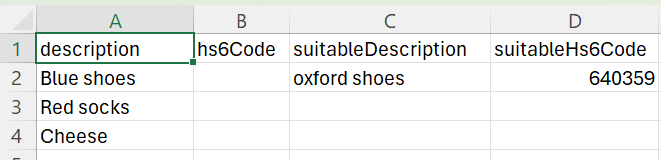
When you click Add to My Products, the classifications are added to your list of previous classifications.